Zucchini Au Gratin

I love zucchini, which is saying a lot since I don’t like many veggies. Something that my taste buds have changed their mind about over the years. This is why I recommend trying things you may not have like the taste of previously. I do it about every 7-10 years.

Anyway, I like finding new ways to cook it. This is one that looked interesting and it involved cheese, so why not? Adding cheese to most things makes it tastier. However, I can tell you that this particular recipe needs tweaking. I added more cheese, because cheese, but if you prefer less, cut down the amount of cheddar by half.


Print Recipe
Zuchini Au Gratin BigOven - Save recipe or add to grocery list
Prep Time 20 minutes
Cook Time 20 minutes
Servings
servings
Ingredients
Prep Time 20 minutes
Cook Time 20 minutes
Servings
servings
Ingredients
Instructions
  1. Preheat over to 350.
  2. Slice zucchini - about 1/4 inch
  3. Blanch zucchini - see notes below.
  4. Saute onion and garlic in olive oil until translucent.
  5. Add milk, paprika, garlic powder, nutmeg, allspice, salt, and 1 cup of cheddar cheese.
  6. Stir until cheese is melted. Remove from heat and add egg.
  7. Pat dry the zucchini one more time. Lay zucchini out in dish.
  8. Pour cheese mixture over zucchini.
  9. Sprinkle remaining cheddar cheese and fontina over the top.
  10. Crumble up crackers and sprinkle on top.
  11. Cover with foil and bake for 15 minutes. Take foil off and broil for 5 minutes to brown top.
Recipe Notes

To blanch: Set up an ice bath in a bowl big enough for your colander to fit into. Boil enough water that will cover all your zucchini. Once water is boiling, toss in zucchini for one minute. Drain into colander and plunge into an ice bath to stop them from cooking more. Lay out zucchini on paper towels and pat dry. Sprinkle with salt and set aside.

Share this Recipe

Bread – My Nemisis

Confession: I suck at making bread.

Well, I suck at making bread that requires yeast and rising. Regardless of how well I follow directions, do everything little trick I have found, I absolutely suck at getting a bread dough to rise properly. It’s infuriating!

The other day, I attempted to make a focaccia bread. Of course it didn’t rise at all, though I still went through all the steps and did cook it. Taste-wise, it was okay, just dense because of my failure. Yes, the yeast was fresh, had it in a warm spot to rise, etc. ARGH!

I WILL NOT LET THIS THING BEAT ME! I love bread – all types of bread. It’s my fourth favorite food. So I told the Man that he’s going to have to suffer through all my attempts to make bread. He just laughed at me and said he’d help me dispose of all my attempts. He’s such a trooper. 🙂

Crockpot Hot Chocolate

Another Pinterest find that sounded good and thought I’d give it a try at a meeting that the Man and I were having at our house. It was a huge hit and almost nothing left at the end of the night. I doubled this recipe in our 6 quart crockpot.

I’ll be making this quite a number of times throughout our winter!

Print Recipe
Hot Chocolate BigOven - Save recipe or add to grocery list
Prep Time 5 minutes
Cook Time 2 hours
Servings
servings
Ingredients
Prep Time 5 minutes
Cook Time 2 hours
Servings
servings
Ingredients
Instructions
  1. Put everything into your crockpot or slow cooker. Put it on high to start to help melt the chocolate chips.
  2. Check back every 20 minutes or so to stir up the melting chocolate. Turn down to low or 'warm' when all the chocolate has melted.
Recipe Notes

Additional options: have mini marshmallows, candy canes, cinnamon sticks, or even a bit of chili powder for flavoring if desired.

Share this Recipe

Cookbooks!

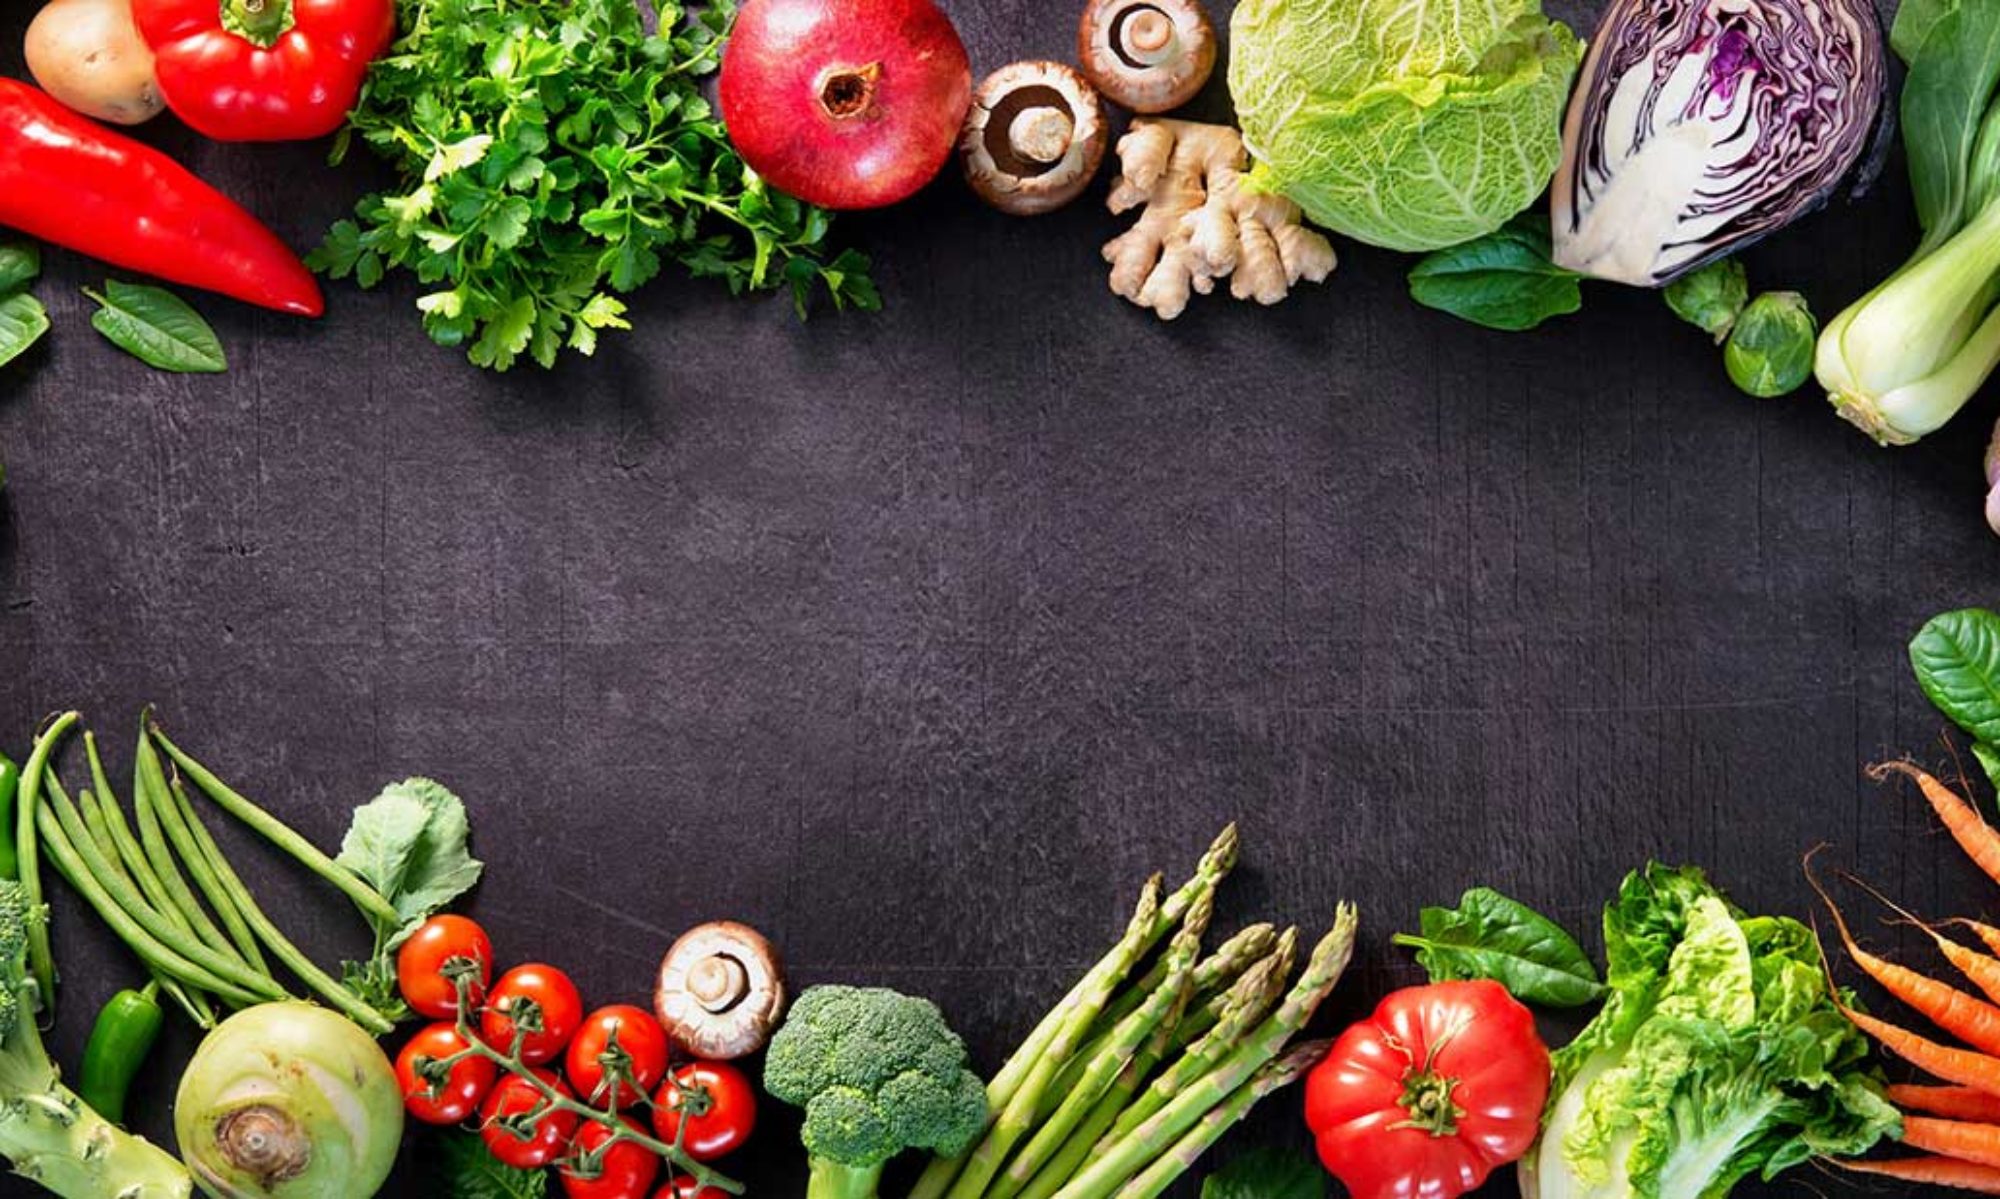
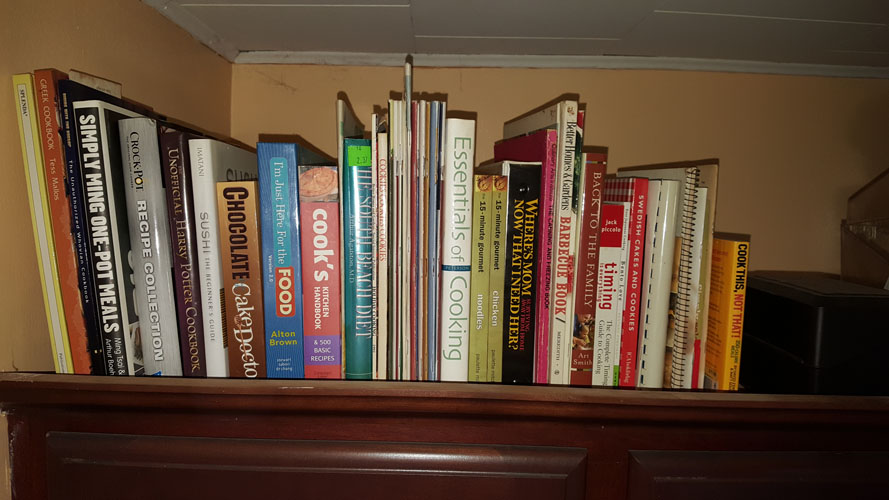
Never discount a good cookbook. And despite some of the comments made by chefs I’ve known, I would have not eaten well as a child had it not been for the original Better Homes and Garden cookbook. Now, if you’re like me, you have a ton of cookbooks. I have specialty ones, general ones, and ones you’ve probably not seen before. Below is the “shelf” that they are kept on for the most part. I say shelf, but really it’s the top of the cabinet that is above my refrigerator. (If you look carefully, there’s even a ‘unofficial’ Harry Potter one too.)

Don’t be intimidated by a recipe in a cookbook! Sometimes the directions seem daunting, but once you do it, it’ll be easier the next time or for the next recipe. Have confidence in yourself! As the great ‘chef’ Gusteau says – ‘Anyone can cook!’

The cookbooks I always come back to time and time again are these three:


The Joy of Cooking

There are no pictures to refer to at all, but there are good descriptions and plenty of definitions you can refer to in the beginning of the book if you are unsure of something. There are several dog-earred pages in mine, as I go back to those recipes a LOT.


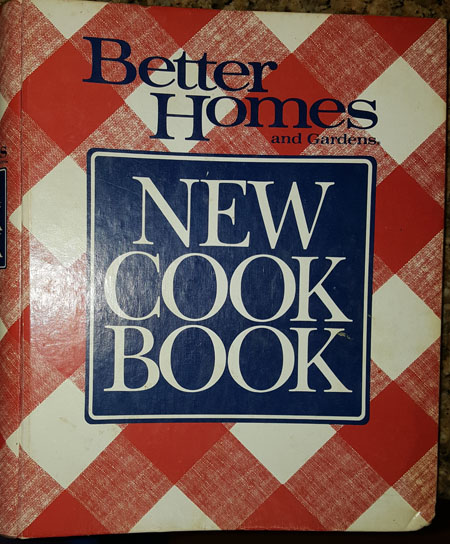
Better Homes and Gardens

Absolutely great recipes in here that are for the most part easy to do. Start here if you are new to cooking. My recipe for snickerdoodles comes from here and they are super good!


Julia Child’s Mastering the Art of French Cooking

This is the woman who I watched as a kid (I’m old) on PBS, who showed me what a love of cooking looks like. She laughed a lot and taught me that drinking while cooking is okay too! LOL  I liked that she was 6′ 2″, about an inch taller than myself.

These recipes are from a time where healthy was defined … differently, but they are simply delectable! You can’t beat her Coq Au Vin recipe and you CAN’T make it in a fucking “instant pot” have it taste as good.

I’ve never gone through and made every recipe from a cookbook, mainly because there’s lots of things I won’t eat, but it’s an interesting notion that I may take on when I don’t have a job. If you’ve seen the movie Julie & Julia, this cookbook was part of the premise.

While I would never advocate writing in a book – WRITE IN YOUR COOKBOOK! Notes on recipes like things you’ve changed, ones you found you didn’t like, etc., is an excellent idea. I recently found an old cookbook from somewhere, with notes throughout it. Next to one recipe (cantaloup pickles?) all it said was “lousy”. Noted. 🙂

Cinnamon Roll Bake

I love cinnamon rolls and the lovely smell that fills the house when they are baking. At one point, I saw a video on Facebook somewhere for this recipe and then saw a Pinterest pin on it.

Giving this a try, I can tell you that I altered the recipe a bit. Pretty much end up doing that with a lot of stuff, but I digress. This turned out better than I expected but I predict that I’ll add more maple syrup next time.

Before baking:

Read to eat!


Print Recipe
Cinnamon Roll Bake BigOven - Save recipe or add to grocery list
Great brunch dish!
Prep Time 10 minutes
Cook Time 35 minutes
Servings
people
Ingredients
Prep Time 10 minutes
Cook Time 35 minutes
Servings
people
Ingredients
Instructions
  1. Preheat oven to 350
  2. Grease a 9 x 13 pan
  3. Cut up cinnamon rolls into quarters. When fresh out of the refrigerator, they are easy to cut. Spread them out in pan.
  4. Whisk together the eggs, milk, cinnamon, and nutmeg in a bowl.
  5. Pour mixture over roll pieces. Be sure to coat them all well.
  6. Pour maple syrup over rolls.
  7. Bake for 30-35 minutes. Oven temps vary.
  8. Put icing that came with rolls into a microwave safe, easily pourable bowl. Microwave for roughly 30 seconds.
  9. Pour icing over bake when it comes out of the oven.
Share this Recipe

Ambrosia

Ambrosia is the food of the Gods. Seriously, look it up. Now, ambrosia “salad” has been around since the late 1800’s and any “true” ambrosia recipe includes orange (of some variety) and coconut. After that, add whatever the hell you want. I was first introduced to this decadent salad by my late grandmother, Astrid. As a kid, of course I looked forward to summer time and being free of school and homework. But more importantly, it meant fresh corn on the cob from the farm across the street and my grandmother’s Ambrosia salad that she would bring to the house when we had a bbq.

I literally would have been happy to just eat the corn and the ambrosia. Pretty sure you can’t live off of it, but I would have tried! It was one of the most delicious things I ate as a child and brings back all the happy memories I have of summers and my wonderful grandmother.

I don’t have her exact recipe (I don’t think the woman used any) but I do remember exactly what ingredients she used. Going off of that and making it taste as close to hers as I can, this is my personal recipe.


Print Recipe
Ambrosia BigOven - Save recipe or add to grocery list
Great for summer time bbqs!
Course Side
Prep Time 20 minutes
Cook Time 0 minutes
Passive Time 3 hour
Servings
people
Ingredients
Course Side
Prep Time 20 minutes
Cook Time 0 minutes
Passive Time 3 hour
Servings
people
Ingredients
Instructions
  1. Whip up your fresh whipped cream or take your softened Cool Whip and go directly to step two!
  2. Add in the sour cream and whisk together.
  3. Using a spatula, stir in all the fruit, mini marshmallows, and coconut.
  4. Cover and refrigerate for at least 3 hours. I prefer to let it sit overnight. Technically, you can eat it right away, but it is better chilled.
Recipe Notes

There really are so many varieties to this. One common substitution is using plain yogurt instead of the sour cream. A lot of people also like to add some kind of nut - best suggestion is almonds or pecans, preferably toasted first.

Share this Recipe

Updates!

I’m in the process of updating the site! It’s halfway to it’s new look! Once it’s completed, there will be new features – the recipes will be easily printable with a click of a button, along with a new button to add it to your own  BigOven account, which I highly recommend. It works on all platforms, all devices, and is fairly easy to use.

Now I’m really going to have to work at taking better pictures. LOL