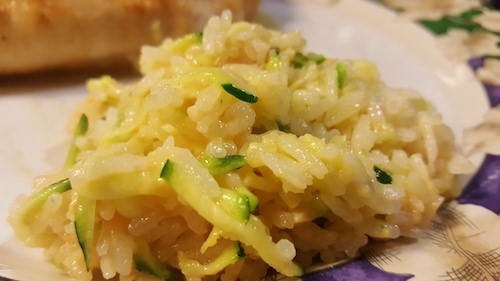
I like having a variety of ways to cook chicken, as we tend to eat more chicken than any other type of protein source. This turned out pretty good for a quick glaze. I can definitely see doing this again, but perhaps adding a few other ingredients (can you say Sriracha?) and possibly looking at different types of honey to change up the taste. OOOh, and maybe using stone ground mustard.
Hmmm…
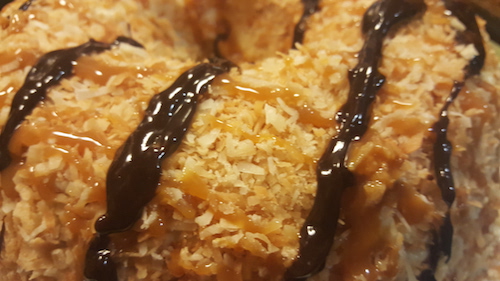
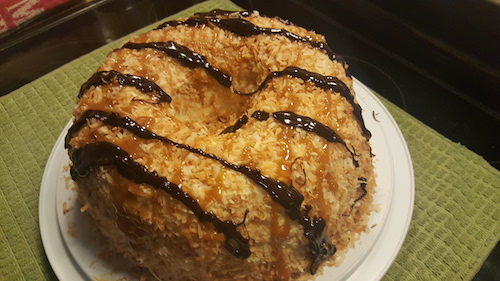
Squirrel note: my cousin gave me a recipe for Samoa truffles. Definitely looking to do that sometime soon! 🙂


| Prep Time | 10 minutes |
| Cook Time | 30 minutes |
| Servings |
servings
|
Ingredients
- 4 Chicken breasts
- 3 tbsps Butter
- 4 cloves garlic minced
- 1/3 cup Honey
- 2 tbsps Dijon mustard
- Salt and pepper to taste
Ingredients
|
|
Instructions
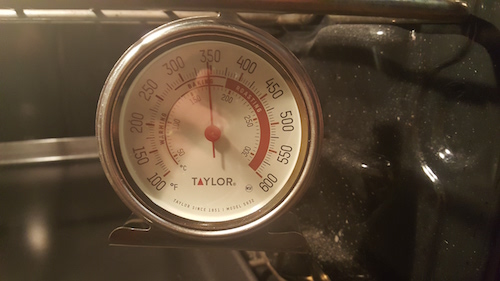
- Preheat oven to 425.
- Melt butter in saute pan. Toss in garlic and cook for 1-2 minutes
- Add honey, mustard, and salt and pepper to your taste. Stir well and let simmer for a few minutes to start to reduce glaze.
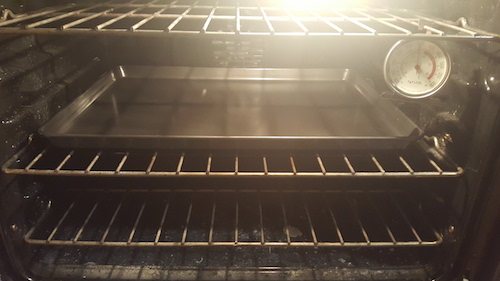
- Use a 8x8 pan or similar to leave only a little bit of area between the chicken breasts. Too large a dish will cause the glaze to burn.
- Place chicken breasts in pan and sprinkle with a bit of salt and pepper.
- Pour glaze over breasts and bake for 15 minutes.
- Remove and baste the breasts with the glaze and then return to oven for another 15 minutes.
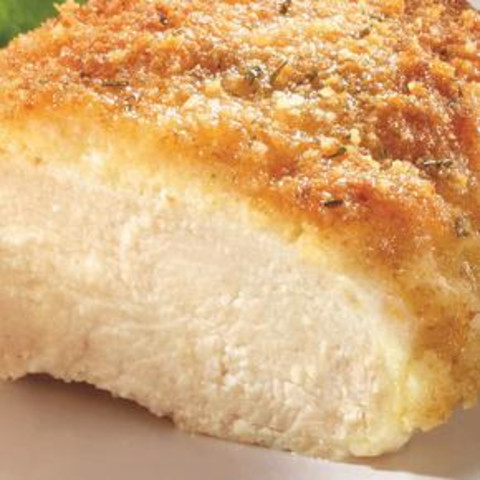
- Allow chicken to rest before serving.
Share this Recipe