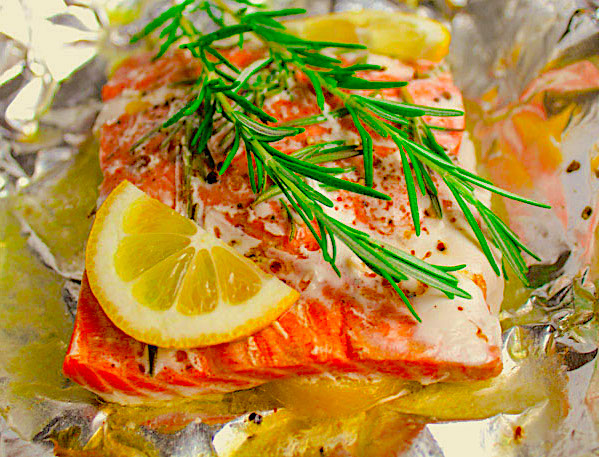
In an effort to be “healthier” or at least tell ourselves that, I’ve added more fish to our diet. Salmon is one of the ones I truly enjoy, so here’s a simple recipe that I found worked really well. It ended up being moist, tasty, and full of flavor!
Also, asparagus goes really well with salmon. I use a simple recipe for them that I’ll be posting soon.
Print Recipe
Baked Salmon

Instructions
Heat oven to 400 degrees F.
Line a rimmed baking sheet with a piece of aluminum foil big enough to encase salmon. Lightly coat the foil with baking spay.
Arrange 2-3 sprigs of the rosemary down the middle.
Cut one lemon into thin slices and arrange half the slices down the middle with the rosemary.
Place the salmon on top - skin side down if you opted for skin on.
Drizzle the salmon with the olive oil and sprinkle with the salt and pepper. Rub to coat, then scatter the garlic over the top.
Lay the remaining rosemary and lemon slices on top of the salmon.
Juice the second lemon, then pour the juice over the top.
Fold the sides of the aluminum foil up and over the top of the salmon until it is completely enclosed. Make sure there is room for air circulation inside the packet.
Bake the salmon for 15-20 minutes, until the salmon is almost completely cooked through at the thickest part. (Cooking times vary depending on the thickness of the salmon.)
Remove the salmon from the oven and carefully open the foil so that the top of the fish is completely uncovered.
Change the oven setting to broil, then return the fish to the oven and broil for 3 minutes. (Watch closely so garlic doesn't burn.)
To serve, cut the salmon into portions. Portion amounts vary depending on how big your salmon is - you can also do this with pre-portioned filets.
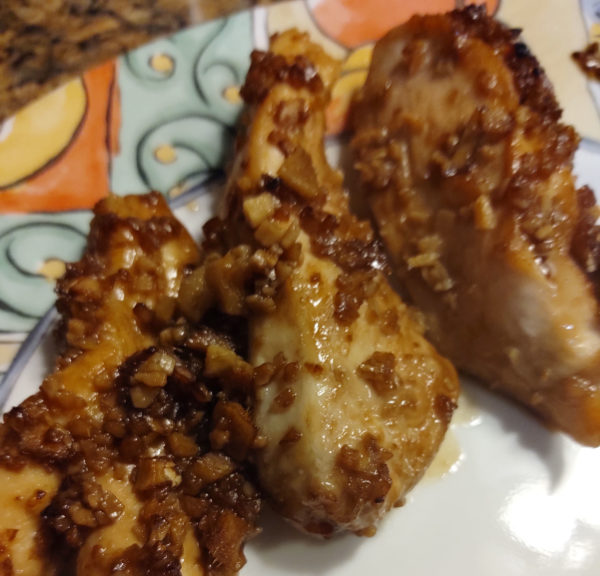
My love of ginger and honey makes this recipe perfect for me. I made this the other night for the Man and he loved it too. Fresh ginger makes this better, and I recommend saving some of it for garnish on top!
You can cut down the cooking time if you do what I did – slice the breasts into strips. We get breasts that are too big and take too long to cook sometimes. Also, this recipe would work really well if the chicken is diced and tossed into a stir fry as well!
Print Recipe
Honey Ginger Chicken

Instructions
Place chicken breasts in appropriately sized ziplock bag.
In a small saucepan over low heat, whisk together the honey, soy sauce, sesame oil, garlic, and ginger until honey is melted and well blended.
Pour mixture over the chicken breastsl and refrigerate overnight.
Preheat oven to 350. Take chicken out of refrigerator while oven is preheating.
Bake covered for 30 minutes. Check temperature with thermometer to be sure it's done (165°).
I absolutely LOVE this dish. If it didn’t take so long to make, with constant supervision, I’d make it much more often. But when you have the time, it is SO worth the effort.
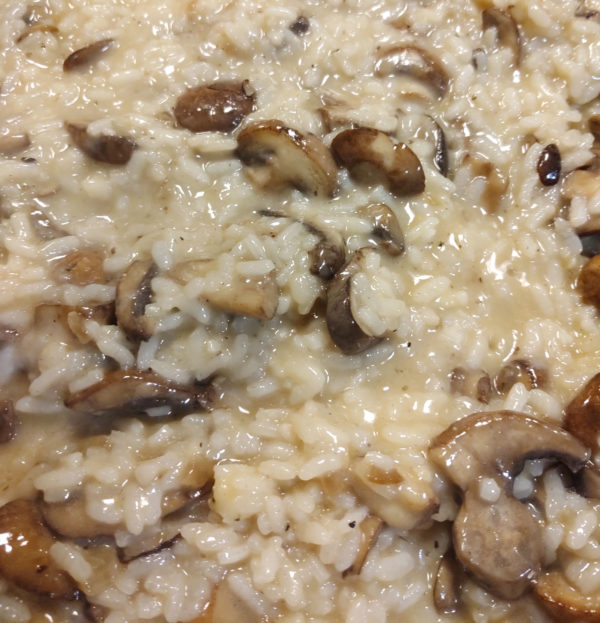
I tend to use baby Bella mushrooms, but you can honestly use most types of mushrooms. I’ve made it with plain white buttons and it tasted fine. While the recipe calls for 1/3 cup of parmesan, I use less because I’m not a fan. Doesn’t effect the taste that much – promise. 🙂
Enjoy!
Print Recipe
Mushroom Risotto

Instructions
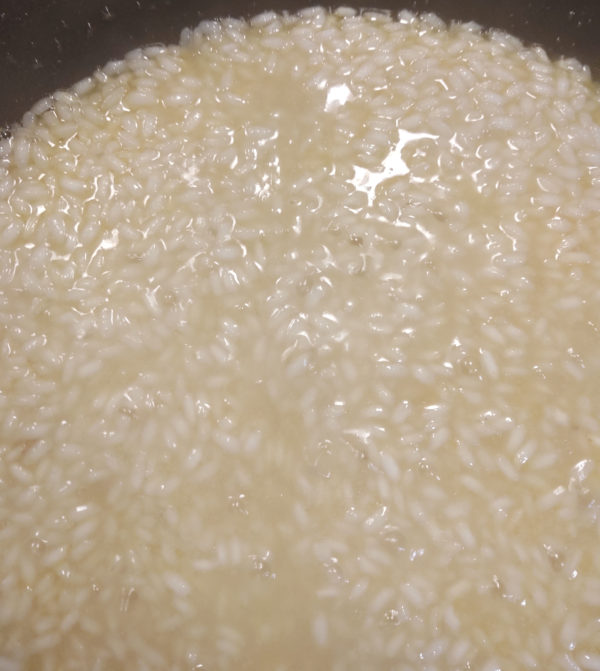
In a saucepan, warm the broth over low heat.
Warm 2 tablespoons olive oil in a large saucepan over medium-high heat. Stir in the mushrooms, and cook until soft, about 3 minutes. Remove mushrooms and their liquid, and set aside.
Add 1 tablespoon olive oil to skillet, and stir in the shallots. Cook 1 minute. Add rice, stirring to coat with oil, about 2 minutes. When the rice has taken on a pale, golden color, pour in wine, stirring constantly until the wine is fully absorbed. Add 1/2 cup broth to the rice, and stir until the broth is absorbed. Continue adding broth 1/2 cup at a time, stirring continuously, until the liquid is absorbed and the rice is al dente, about 20-30 minutes.
Remove from heat, and stir in mushrooms with their liquid, butter, chives, and parmesan. Season with salt and pepper to taste.
I love a good quick bread. I have always had issues with yeast and getting regular breads to rise, so quick breads are my bread and butter. 🙂
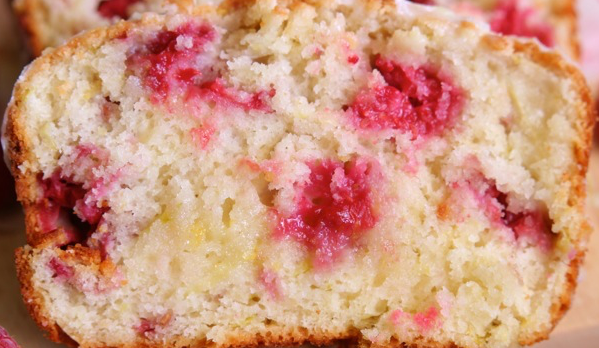
While looking around for recipes for Yule dinner, I found this one. I tweaked it a little, of course, and it turned out really tasty! The Man loved it to and it used up the zucchini I had too much of!
Print Recipe
Raspberry Zucchini Bread

Instructions
-
Grease/flour loaf pan (9x5)
Blend flour, baking powder, and salt.
In a separate bowl, beat eggs well. Add oil and sugar, mixing well until combined. Add milk, lemon jouise, and zest; mixing well.
Gently mix in zucchini until evenly distributed.
Add dry ingredients to wet. Mix well.
Fold in raspberries. Pour batter into loaf pan.
Bake for 45 minutes or until toothpick comes out clean. Cool in pan for 10 minutes before removing from pan and cooling on rack.
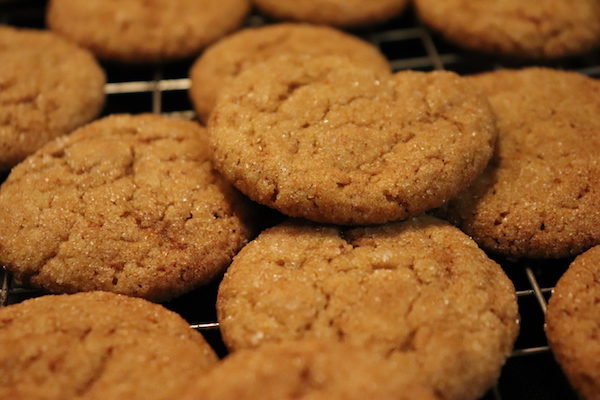
This is one of my most oft requested cookie when I go to a group function. Or for a very special friend who absolutely loves them and steals them whenever he can. 🙂
I like the fact that the are simple to make, tasty, and still semi-soft compared to ginger snaps. I’m not a fan of overly hard cookies and as long as I don’t over bake these, they turn out perfect!
Print Recipe
Ginger Cookies

Some of the best you'll ever have!
Instructions
-
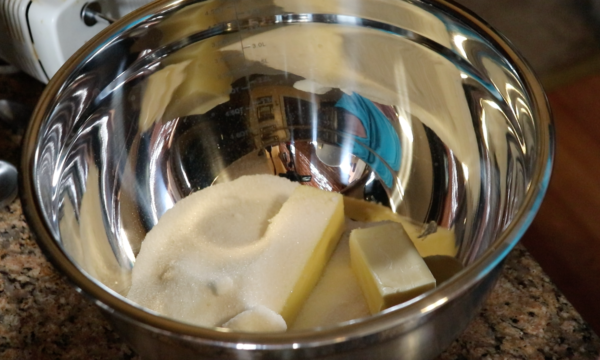
Cream butter and sugar until smooth.
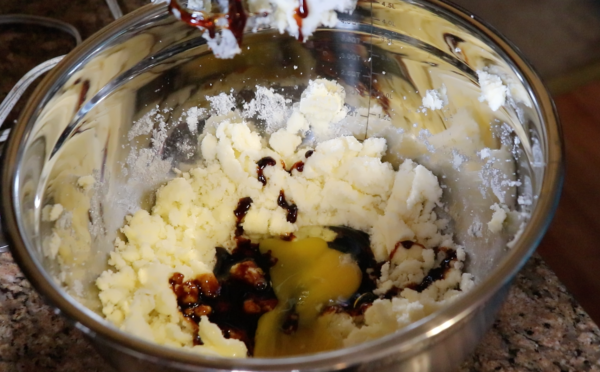
Beat in egg and molasses.
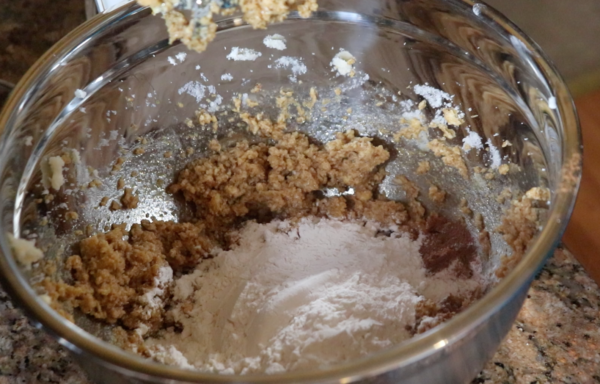
Add flour, ginger, cinnamon, baking soda, and salt.
-
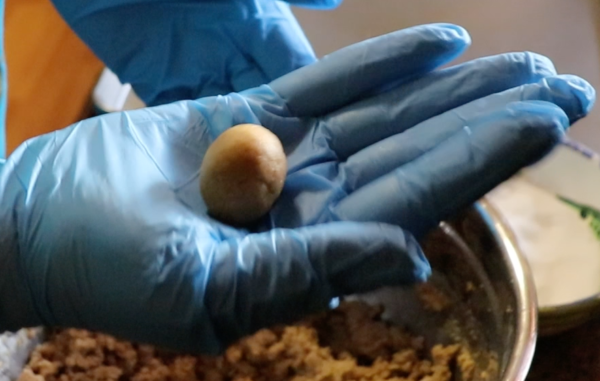
Roll balls into sugar and place on cookie sheet.
-

It’s a new year! Traditionally, this means a fresh new start for everyone to make this year a better one than the last. As last year was an utter shit-show for me. A number of friends and family that passed away, including my mother. I spent half of 2018 and 2019 taking care of her and her passing, while completely shattering, was also a complete relief. My stress level dropped by half and I’ve slowly been regaining my life back.
And as such, I’m finally getting back to the things I enjoy most in life – cooking and baking! I finally got a great camera to take pics and video too! I am going to start the year off with one of my favorites – my always requested Ginger Cookies in the next post.
I hope you’ll enjoy them as much as I do!

I hope everyone had an awesome holiday season! I was very blessed this past xmas with a few great kitchen presents that I’ll be discussing in the coming week. Two new cookbooks, tools, and some inspiration!
I’m hoping this coming year sees a lot more fun recipes and pinterest attempts here. That’s my plan anyway! I have gotten much better about taking pictures and even my photography has improved over past attempts.
I am also going to be working on organizing my kitchen better. I have a very small galley kitchen, with minimal counter space. I’m trying to arrange things a little bit better to give myself more room and looking at a new light fixture, new faucet, and new curtains/shutters for the window. Thinking I may do a short video of what it looks like before and after. I’ve been in this house for six years now and have already made some changes. I HAD to change the color of the walls ASAP, so that got done first. 🙂
As I’ve never done a video, we’ll see how that turns out – LOL! I may even get an updated photo of myself on here at some point.
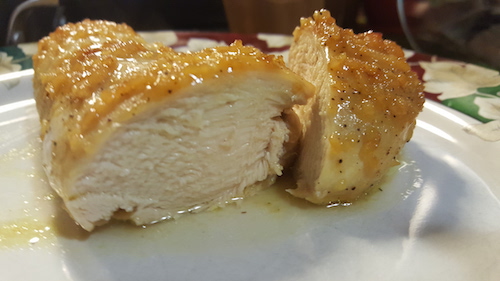
I like having a variety of ways to cook chicken, as we tend to eat more chicken than any other type of protein source. This turned out pretty good for a quick glaze. I can definitely see doing this again, but perhaps adding a few other ingredients (can you say Sriracha?) and possibly looking at different types of honey to change up the taste. OOOh, and maybe using stone ground mustard.
Hmmm…
Squirrel note: my cousin gave me a recipe for Samoa truffles. Definitely looking to do that sometime soon! 🙂
Print Recipe
Honey Dijon Chicken

Instructions
-
Melt butter in saute pan. Toss in garlic and cook for 1-2 minutes
Add honey, mustard, and salt and pepper to your taste. Stir well and let simmer for a few minutes to start to reduce glaze.
Use a 8x8 pan or similar to leave only a little bit of area between the chicken breasts. Too large a dish will cause the glaze to burn.
Place chicken breasts in pan and sprinkle with a bit of salt and pepper.
Pour glaze over breasts and bake for 15 minutes.
Remove and baste the breasts with the glaze and then return to oven for another 15 minutes.
Allow chicken to rest before serving.
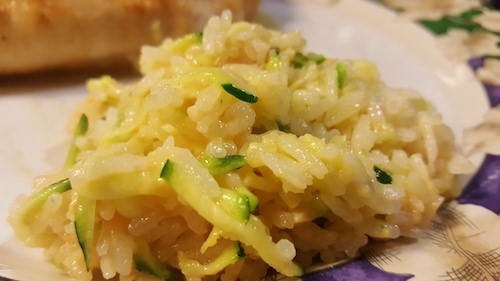
And we’re back again to zucchini! 🙂 One of the best wedding presents we were given was a rice cooker. While this recipe can easily be done without one (and I’ve included those instructions below), I find it much easier because, again, I’m lazy. Toss it all in and leave it alone. Plus, it can stay in there on warm for a while. The ratio is two cups of water to one cup of rice.
I used chicken stock with the rice, but you can easily use vegetable stock or even plain water if you like. I also upped the amount of cheese (because CHEESE!) from the original recipe that I found. This turned out pretty good!
Print Recipe
Cheesy Zuchinni Rice

Instructions
Shred the zuchinni - either in a food processor or with a mandolin. Zuchinni contains a lot of water, so to help with this, lay out your shredded zuchinni on some paper towels and sprinkle with salt. Let sit for bit and then blot well with paper towels as much as necessary to get rid of the excess water.
Before beginning: decide how you want to cook rice. If you use the rice cooker, do this first, using the stock instead of water. If not, just follow the directions below.
In a large saute pan, melt butter.
Toss in garlic and cook for 1-2 minutes
Stir in rice and broth and bring to boil. Cover and allow to cook for 15- minutes or so, when rice is done.
OR
Toss in already cooked rice.
Toss in zucchini, cheese, and salt and pepper to taste. Mix well and turn off heat. Cover and let sit for a few minutes to allow cheese to melt.
Recipe Notes
This is pretty simple to do and to change up as your taste desires.
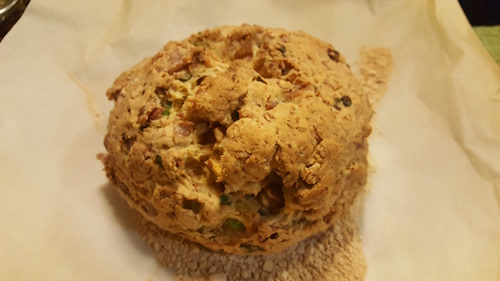
Quick breads are great – no need to fuss with yeast or rising! More dense than regular yeast bread, but super tasty and filling! This particular recipe calls for the addition of savory ingredients, but the basic recipe is the same. You can pretty much add whatever you like, compensating for anything that has extra moisture in it.
The original recipe that I found on Pinterest called for less bacon and chunks of cheddar. I much prefer more bacon (always) and prefer using shredded cheddar to get a more thorough flavor throughout the bread.
Print Recipe
Irish Soda Bread

Instructions
Preheat oven to 400. Line baking sheet with parchment paper and sprinkle with a little bit of flour
Sift together flour, salt, baking soda, pepper, and sugar. Stir together.
Add in cheddar cheese, bacon, and green onion. and mix.
Add in buttermilk and mix.
Sprinkle a bit of flour onto a solid surface and knead the dough until it holds together well, about 2 minutes.
Form into loaf and place on prepared baking sheet. Using a serrated knife, slice crossways into the top of the loaf.
Cook for 25 minutes. You'll know it's done when it is light brown in color and sounds hollow when you tap on it.
