DICED!

In the vein of one of my favorite shows, “Chopped”, a fellow blogger has started a competition called “Diced“.  I decided to enter because a) it’d be hella fun and b) I’ll probably never get on the real “Chopped” show.  So imagine my excitement when I got the email today telling me that I made it into the competition!  I’m stoked to say the least and can’t wait to get to the store and pick up the ingredients I need!

The first round is, of course, appetizer/salad/soup and there are four ingredients that have to be included.   I’ve got several ideas racing about in my head and no, not using any known to me recipe.  I’m going to wing it and see what happens.  That’s what they do on the show (pretty much), so what’s the worst that can happen?  I think my main issue will be how the pictures turn out, but I’ll do my best.

The deadline is March 15th.  The post will be up over at the Rantings of an Amateur Chef after that and then I’ll beg everyone I know to go and like my submission.

Oh, what do I win?  Nothing but the satisfaction of it.  That’s enough for me.  🙂

Chicken Taco Soup

A friend sent me this recipe a few years back when I was looking for a simple crock pot recipe that I could throw together in the morning and have it ready for dinner once I got home from work.  While it calls for a lot of canned stuff, it’s a fairly cheap recipe to do.  Depending on where you get your ingredients, this whole meal (which will feed approximately 6-8) cost me $12, including the chicken.  Not too shabby.

Feel free to eliminate the chicken and it becomes a tasty vegetarian dish!

Ingredients:

  • 1 medium onion, chopped
  • 3 boneless chicken breasts (boneless is easier)
  • 2 cans black beans
  • 2 cans corn
  • 2 cans diced tomatoes with chiles
  • 2 cans beans (kidney, pink, pick one)
  • 1 packet taco seasoning (or make your own)
  • 1 bottle of beer (your choice of type)
  • salt/pepper to taste
  • shredded cheddar cheese/sour cream/tortilla chips for finishing

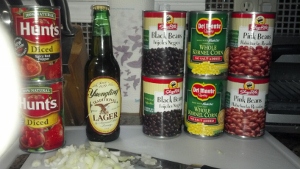
2013-02-22_11-39-24_316 (300x169)

(not pictured, chicken and seasonings)

I drain and rinse all the beans and corn.  This is your choice, but I would recommend at least rinsing the beans.  Toss all the beans, corn, diced tomatoes  beer, onions and taco seasoning in the crock pot.  Mix it up.  Take the chicken breasts and lay on the top.  I put a dash of salt (there is plenty of sodium in the beans) and more than a dash of pepper on top.

2013-02-22_11-47-04_349 (300x169)

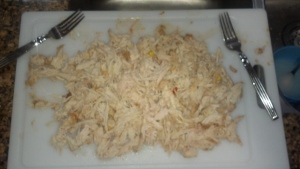
Put the lid on, turn it on to low heat and allow to cook for roughly 5 hours.  If you do this before work, no worries.  I’ve yet to ever over cook the chicken.  Take the breasts out and shred them.  They’ll be tender and I use two forks to pull them all apart.

2013-02-22_15-48-40_87 (300x169)

Place the shredded chicken back into the crock pot and stir.  Allow to cook for either 2 hours on low heat, or 1 hour on high.  Be nice to your cat-dog and let them lick the chopping board.  My Diva (a cat that thinks she’s a dog was more than happy to help.)

2013-02-22_15-50-55_628 (300x169)

2013-02-22_15-50-32_516 (300x169)

Tasty!!!

Serve with a dollop of sour cream, shredded cheese, and crushed tortilla chips on top.  Or don’t.  I prefer mine with just some cheese.

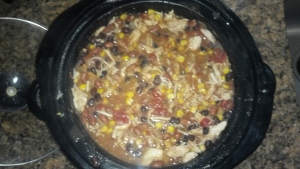
2013-02-22_16-43-45_50 (300x169)

You can make this spicier by adding jalapeños (I can’t due to the Man), extra spicy taco seasoning, or anything really – it’s an incredibly flexible recipe.  And while really more a “chili” than soup, you can add more liquid (an extra bottle of beer and more diced tomatoes.)

Shrimp Fra Diablo

I first had this dish more than 20 years ago, in a restaurant that no longer exists in Sandy Springs, Georgia.  My thought, at the time, was – shrimp and pasta? Sounds kinda gross.  (Hey, I was maybe 19 at the time and had no exposure to good food!)  But it was TEH AWESOME!  At the time, I had asked the chef for the recipe and of course, was thoroughly denied.

Well, time has passed and having better tools in which to actually cook food and be kind of creative, I remembered that dish and wanted to see if I could make it.  Now, it really isn’t that hard, though the recipe I used was definitely … lacking.  Note: this is really the first time I’ve ever had to peel and de-vein raw shrimp.  Interesting, albeit kinda gross experience.  I’m over it though.  🙂

What I used (because it’s what I had):

  • Bag of raw shrimp – roughly 30 of them – shelled and de-veined
  • Red pepper flakes
  • Salt
  • Olive oil
  • Garlic
  • Onion
  • Pasta (your choice of what kind really)
  • Basil
  • Oregano
  • Diced tomatoes (I used 2 cans)
  • Dry vermouth or dry white wine

Make the pasta per however way you like to make it.  I won’t get into the debate of using salt or not in the water.

Toss your shelled and de-veined shrimp with about a teaspoon of salt and I used a tablespoon of red pepper flakes.  I like spice, but if you prefer it not so spicy, use less.

Heat a bit of olive oil in skillet.  Cook the shrimp for a few minutes on each side. You can tell they’re cooked when they get all nice and pinky colored.  🙂

Set the shrimp aside and re-use the skillet to cook down the onion.  I used a small yellow onion, diced up.  Cook until translucent and soft.  Add in a couple of cloves of garlic, minced.  And when I say a couple, really I mean a lot more.  There is no such thing as enough garlic for me and in this recipe, I needed more  than I put in.  If you are using the stuff you get in the jar – I’d figure at least a tablespoon … or more, if you are anything like me.

Cook it down a bit, then add some dry white wine or dry vermouth.  I used just enough to cover the bottom of the skillet.  Cook this down until almost all of it is gone.

At this point, add the diced tomatoes.  Cook this down … about 10 minutes or so.

Add the shrimp back into the skillet, add about a teaspoon of basil and oregano.  Stir up and let cook for a few minutes.  Test the seasoning, so it’s to your liking.

Serve over the pasta.


Now, when I had this dish, it definitely had more of a marinara sauce to it than this dish does.  I’m going to adjust this a bit for next time, including making it spicier … well, for me anyway.  The Man isn’t a fan of the spicy food as I am.

MIA

Sorry I’ve been gone for a bit.  Things have been busy and while I’ve been cooking, I suck at remembering to take pictures and blog about it.  I usually remember when I’m shoveling into my mouth.  My bad.

Things will be turning around a bit more here soon.  Thanks to a lot of free cookbooks that Amazon offers for Kindle, I’ve got a shit ton of new recipes to try out and tweak – including vegan and gluten-free.  No, I’m NOT a vegan (give me bacon at every meal!) nor do I need anything gluten-free.  However, I have friends that are or do.  And believe it or not, I’ve actually tried some vegetarian and vegan dishes that I liked – and I’m not a veggie fan.  Also, gluten-free pancakes are pretty awesome – just sayin’.

So, keep an eye out.  I’ll be back to some sort of normalcy soon.  🙂

Meatloaf, Twice-Baked Potato Casserole, w/Red Pepper Corn

I find meatloaf one of those comforting foods. Something my mom made every week that wasn’t half bad. It reminds me of home and the glorious, stupid about the real world days of childhood. There are literally hundreds of recipes for meatloaf, and my own recipe box has about 5. The recipe for the twice-baked casserole is new and I have suggestions to make it better. No pictures with this one since my phone ate them all … including the really nice one of the drink I had. 🙂

Here is the one of the five of my meatloaves. *smiles*

Ingredients for Meatloaf:

  • 1-1/2lbs ground beef
  • 1/2 onion, chopped finely
  • 2 tbsp minced garlic
  • 1/4 tsp salt
  • 1/4 tsp pepper
  • 2 tbsp Dijon mustard
  • 2 cups shredded cheddar cheese
  • 1 cup bread crumbs
  • 1 egg
  • 1 tsp Italian seasoning

Mix everything together in a bowl. Personally, I use my hands (clean!) And enjoy the labor of mixing it that way. Free form on a pan or use a loaf pan – personal preference there. Be sure to press down while forming to get rid of any air you may have trapped.

Bake at 350 for 1 hour or so.

Ingredients for Casserole:

  • 1-1/2lbs red potatoes (roughly 6 medium sized), cubed
  • 1/4 tsp salt
  • 1lb bacon, cooked and c rumbled
  • 3 cups sour cream
  • 2 cups shredded mozzarella cheese
  • 2 cups shredded cheddar cheese
  • 2 green onions, sliced

Divide ingredients in half, except green onions. In a greased 13 x 9 pan, layer potatoes, salt, pepper, sour cream, bacon, then cheese. Repeat with second half. Done! Bake at 350 for 20-25 minutes. Sprinkle green onion on top of servings.

Now, the above recipe is a new one for me and quite frankly, it lacked a lot. My recommendations (which I’m going to try next time) is add minced garlic and a bit of butter for each layer.

This corn recipe is so simple – corn, a diced red pepper, salt and pepper to taste, a quarter stick of butter (or substitute.) How much butter depends on how much corn you are using. I used frozen corn – roughly 16oz worth.  Bake at 350 for 20 minutes.

That’s it! While its all cooking, fix yourself a nice drink. Can’t hurt. 🙂

Cheesecake with champagne raspberry sauce

I love me some cheesecake.  I try not to eat a whole lot of it because, well, I don’t need all the calories!  But this is a very tasty recipe that got the compliment that I should be selling it.  I’ll take that!

This was the first time using my spring-form pan, which worked beautifully.  Be sure to read through thoroughly and at then end, you’ll find tips on how to keep your cheesecake from cracking in the middle – a very common problem for everyone.

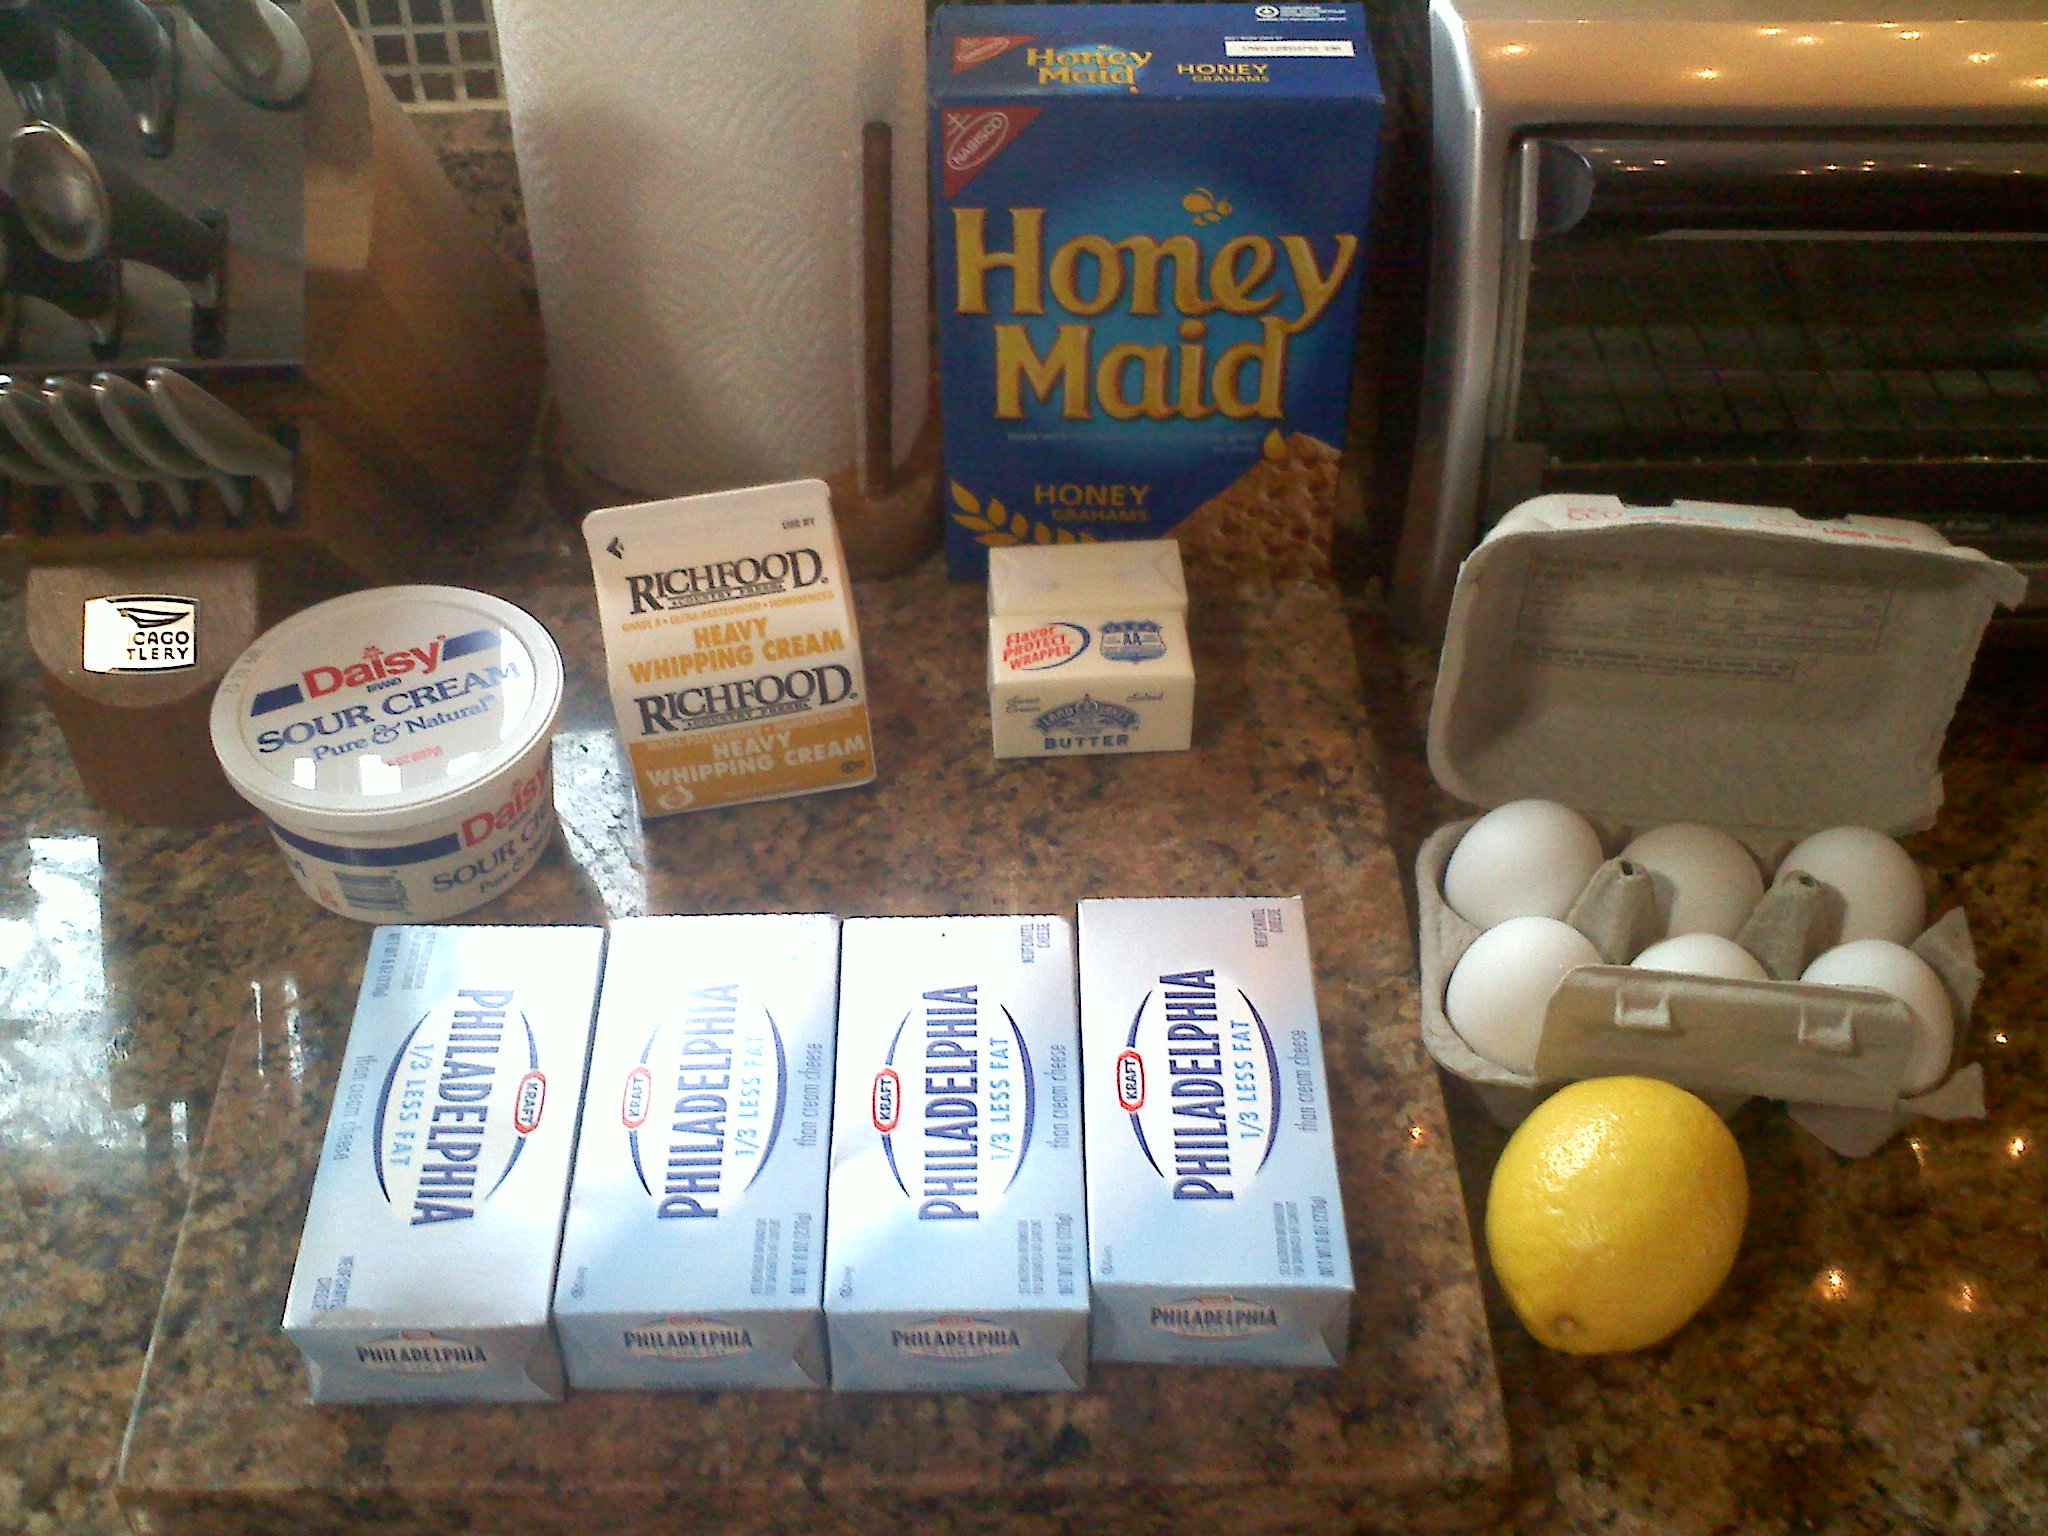
Ingredients for Cheesecake:

  • 6 eggs
  • 1 lemon
  • 1 1/2 cups sugar
  • 4 – 8oz packages of cream cheese
  • 1/2 pint heavy cream
  • 8oz sour cream
  • 1 tbsp vanilla extract
  • 2 tbsp flour

Ingredients for Crust:

  • 1 1/2 cups of graham crackers, crushed
  • 6 tbsp melted butter
  • 1/2 cup sugar

Preheat oven to 325°.  I’ll say here that having a standing mixes is much easier than using any other method.  Also, this recipe will fill a 9″ diameter, 3″ deep spring-form pan.  If you are going to use something smaller, like a standard round cake pan – divide the recipe in half, or make mini cheesecakes in a muffin tin with the excess.

TIP:  Use room temperature ingredients, especially the cream cheese and eggs.

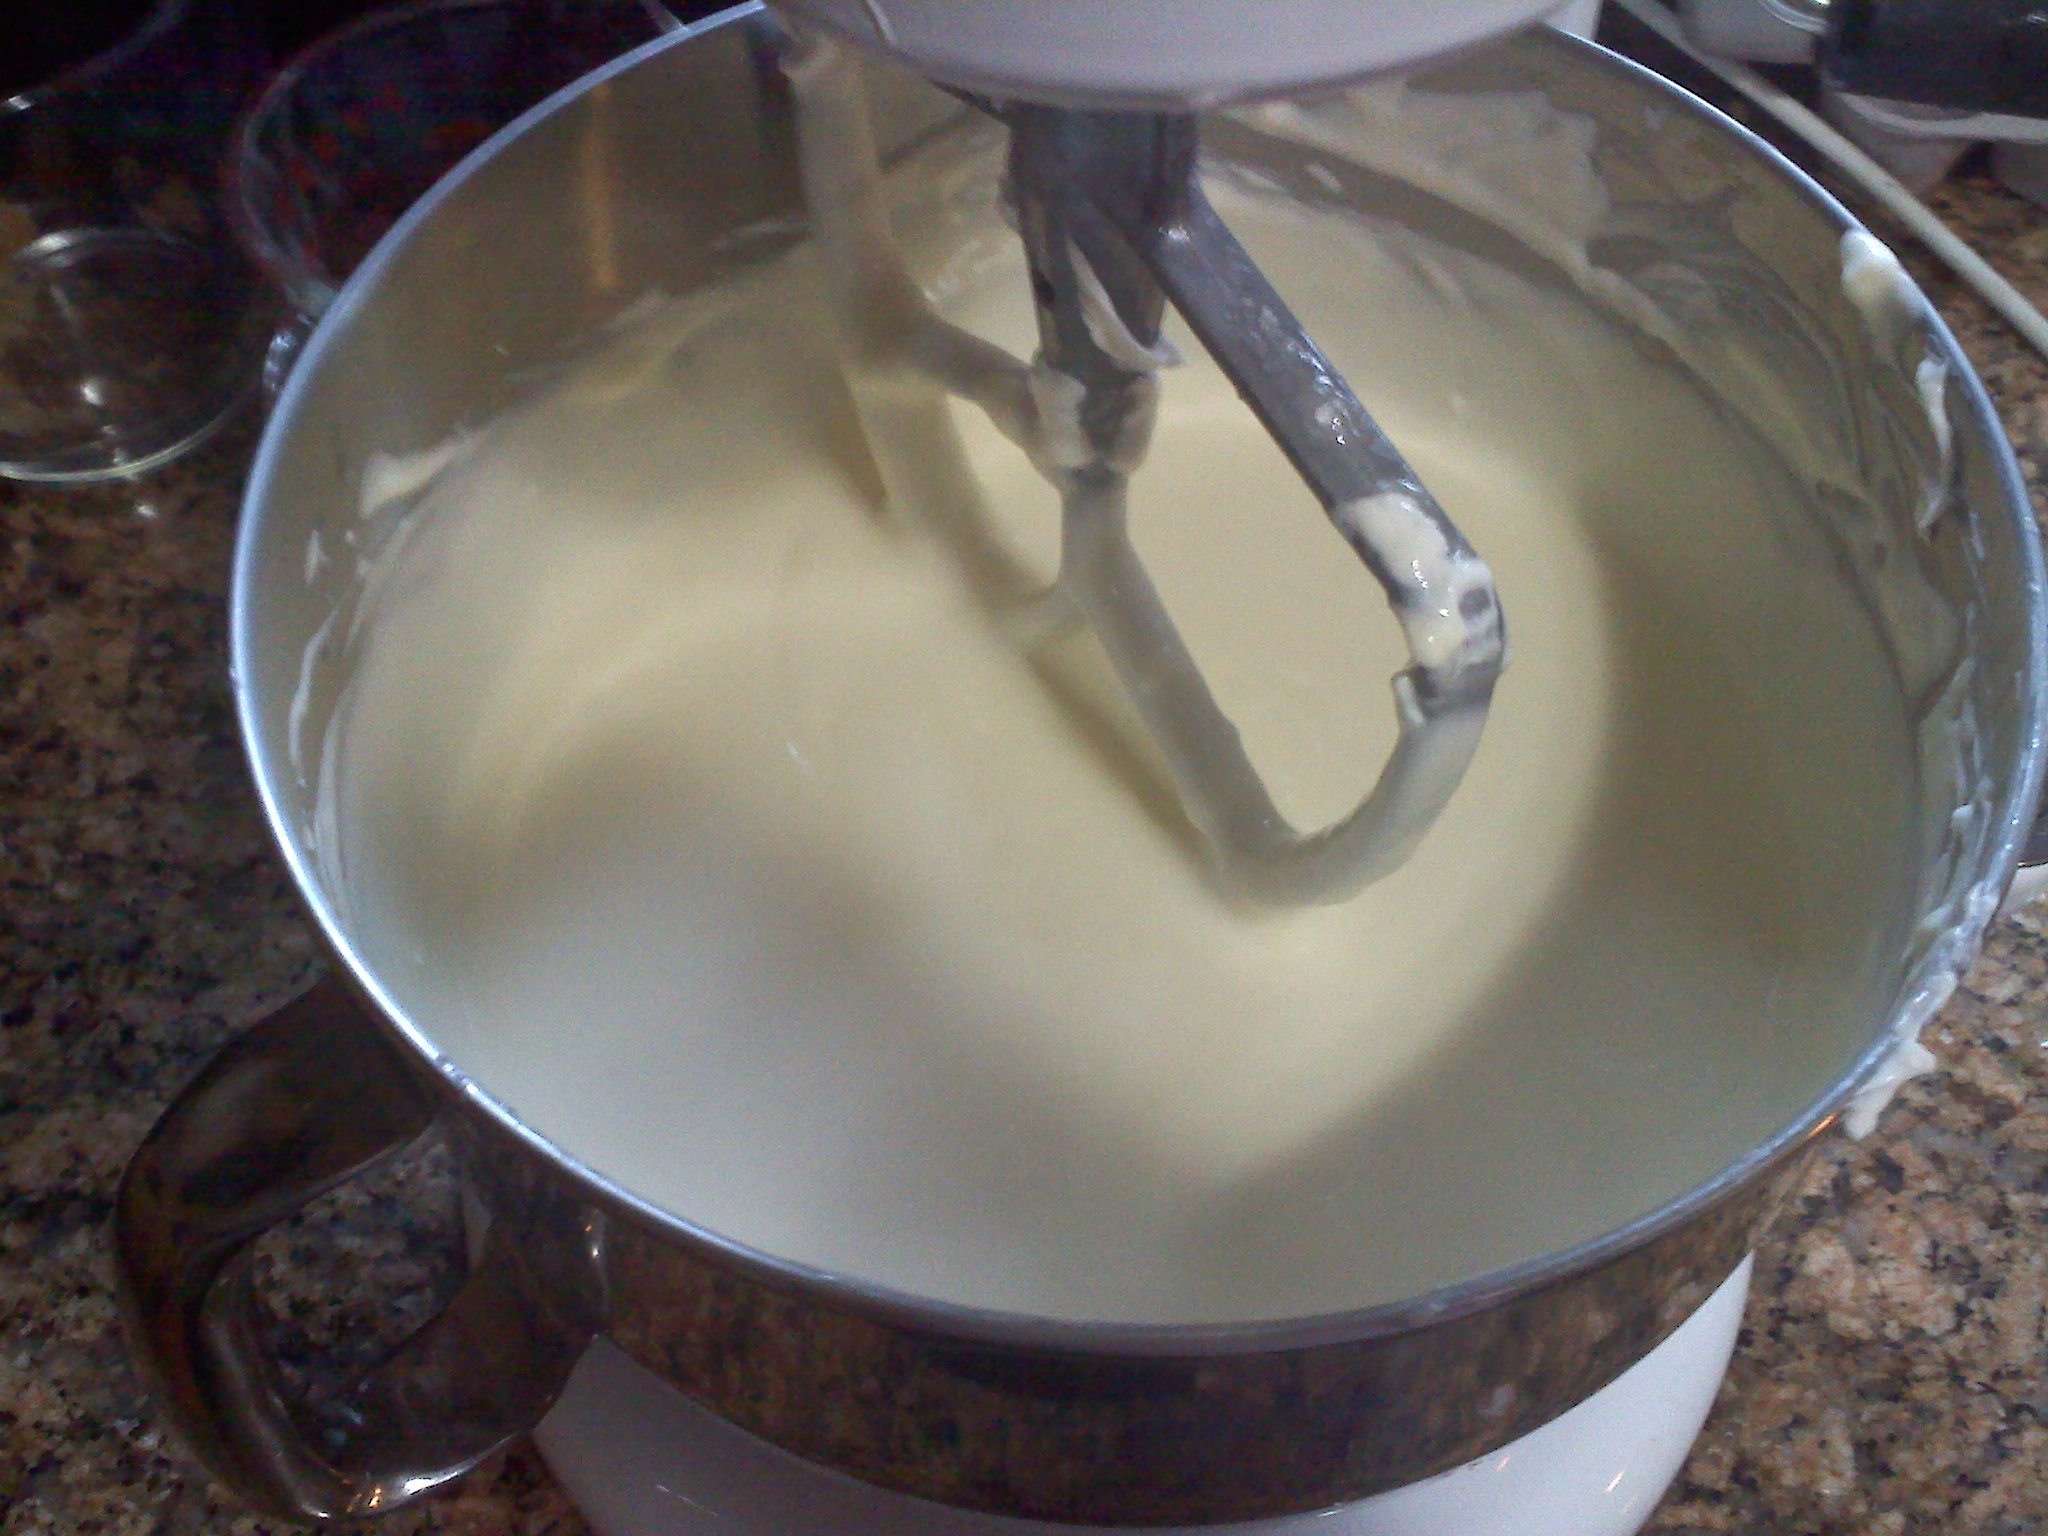
Mix together the cream cheese, sour cream, heavy cream, sugar, flour, and vanilla extract.  Once it becomes smooth, add the eggs – one at a time, scraping the sides of the bowl.  Try to avoid beating air into the mixture.  At the end, mix in the juice of the lemon.

It should look pretty much like this:

Continue reading “Cheesecake with champagne raspberry sauce”

My Kitchen “Stuff”

Back in December of 2008, I packed up my house of stuff and the majority of it has been sitting in storage ever since.  This past week, I finally got all the boxes labeled “kitchen” and a few others that weren’t labeled at all, out of storage and into my new home.  I haven’t been able to go through all of them yet, but thus far have at least found a lot of my baking gear (YAY!) and some things that I am planning on giving over to a good friend of mine – Geek Girl.  Some of it will go to Goodwill for a donation – how many dishes and mugs do one household really need?

One item that I was super stoked to find is my garlic press.  While it’s not exactly that hard to mince or chop garlic, I’m technically lazy.  *smile*  And I finally have all my measuring cups and spoons, which makes baking more easier.  Yeah, this house had two men living in it but lacking quite a bit on cooking/baking gear that I think every house should have.

Of course, I also found my ‘man’ cake pan … which I have no idea if it’ll ever get used again.  There’s also the ‘winnie-the-pooh’ pan, which will probably never get used again either.  I think I see donations there.  I am, however, keeping the mini teddy bear cake pan.  Good for single serve cakes and other treats.

One thing I haven’t found yet and hope I will in the last few remaining boxes is my cheesecake pan.  While I don’t bake them often, I can make a mean one and I have a great recipe for a champagne-raspberry sauce to go with it.  And I’ve been craving it lately!

Chicken à la Jenn, with red potatoes and sautéed veggies

Now, this main chicken dish originally started as a recipe my Mother use to make and that I loved as a kid. I adapted it a bit, as my Mother made rather bland food because that’s how my Dad liked it. My Dad also liked things cooked to dryness, so it was years until I realized that meats and chicken taste better when moist. Yeah, my Mom wasn’t the best cooking teacher.

Oh, and is said often enough elsewhere – read everything before you start. In this particular dinner, I cooked the potatoes and the chicken at the same time. I do my best to time things so that it all comes together at the same time.

Chicken à la Jenn

Ingredients:

Chicken – use what you like, I prefer boneless breasts
Salt
Pepper
Butter – I used half a stick
1 can of Cream of Chicken soup
Milk
Mushrooms – sliced

Again, amounts depend on what you like and how much you want to cook. I used five chicken breasts for dinner, so you have some reference.

Preheat oven to 350°. In a baking dish, lay out chicken that has been cleaned – wash off and trim fat. Sprinkle with salt and pepper (as much as you like.) Cut butter into pats so that you have one on each breast.

Slice up mushrooms and toss on top of chicken. In a seperate bowl, mix can of soup with milk – I use the soup can to measure the milk, so half a can of milk. Once mixed well, pour on top of chicken. That’s it – throw into the oven for roughly 30 minutes – depending on the chicken you use and how well your oven works.  When serving, make sure you add a bit of the sauce from the pan over the chicken along with the mushrooms.

Roasted Red Potatoes

Ingredients:

Red potatoes – diced (I leave the skin on)
Salt
Pepper
Paprika
Green onions – diced
Rosemary
Garlic – minced
Olive oil
Cooking spray (optional)

Preheat oven to 350°. In a large enough bowl, toss the potatoes with some oil, salt, pepper, paprika, rosemary, and garlic so that all the potatoes are covered. They’ll probably look reddish due to the paprika, which is what you want.

On a baking sheet, spread out all the potatoes. If need be, spray the sheet first so that they don’t stick. I use a non-stick, so it isn’t necessary. If there is extra oil/seasonings in your bowl, pour that over the potatoes as well. Make sure they are in a single layer, so they cook more evenly. Sprinkle green onions over top. Place pan in oven for approx. 30 minutes. Time here really does depend on the size of the diced potatoes – the smaller they are, the faster they’ll cook. Keep an eye on them.

Sauteed Squash, Zucchini, and Red Peppers

Ingredients:

Yellow squash – sliced
Zucchini – slices
Red pepper – julienned
Salt
Pepper
Olive oil
Sesame oil

While the potatoes and chicken are cooking, you can prep your veggies. They only take about 10 minutes to sauté, depending on the size of your slices. In a large sauté pan or wok, heat up your olive oil. Toss the veggies in, dust with salt and pepper, and sauté until the veggies soften up a bit. You want to keep them semi-firm but cooked through. In the last few minutes (3-4) of cooking, sprinkle enough sesame oil over to cover all the veggies and toss.

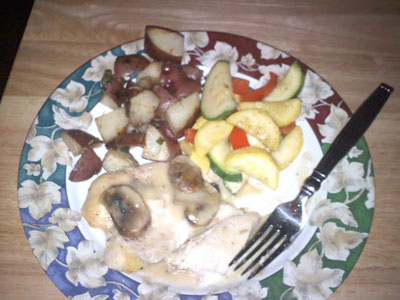
That’s it! It really is very simple and tasty. The Man loved it, as did I. And I even remembered to take a picture of the final dish … before I ate it all.
Tools of the Trade

While I am no expert on kitchen utensils, I do know what I use, what I like, what I want and what I think is useless.

The most important tool(s) for any chef is their knives. It is important to have a good set and not necessarily an expensive one. While I’d love to have a set of professional knives, I’m very happy with my fairly inexpensive Chicago Cutlery set. It included a variety of knives (paring, chef, bread, etc.) and honing steel. Yes, sharpeners are important. I don’t mean those crappy ones you see in tv ads, but a good honing steel and a whetstone. Personal preference perhaps, but will keep your knives sharp longer. Have a friend or professional show you how to use them so you don’t screw up!

Kitchen appliances have come a long way since I was a kid watching my mom cook. Of them all, a good stand mixer is a must if you bake. I love my professional grade Kitchenaid and use it often. There are a few models out there that are pretty good and don’t cost an arm and a leg. Blenders are good to have and I wish I had a really good food processor. That’s my next kitchen investment. There are plenty of smaller gadgets that I’ll be talking about later.

Also, get yourself a GOOD cutting board. And avoid glass ones at all costs – they are bad for your knives, and dull them a lot faster. I tend to avoid wood, mainly because I’m lazy with the necessary upkeep. The thin silicone mats aren’t bad, but I prefer the thick, reversable, polypropylene ones. Don’t bother with the ones that offer “feet” – save yourself the trouble and put a dish towel or wet paper towel under it and it won’t slide around the counter.

My Own Cooking Blog

Several friends have started theirs and since I’m now slowly learning to be a chef, I thought I’d just toss my hat into the cooking ring.  I’ve always loved cooking and eating.  There are things that I actively dislike (broccoli being one) but I still cook those things for the other people in my life.

I also love to bake and it shows on my waist line.  I’m always up for something new to try, because you never know where your next favorite dish or dessert will come from.